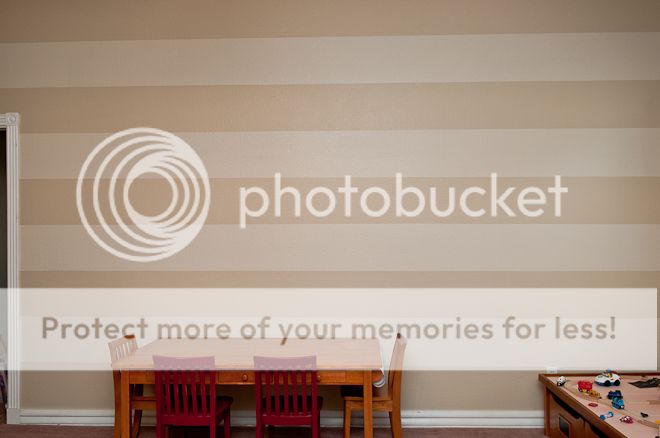
After we moved, I recreated the same treatment in our new home:
 (moving day - it just seemed to be one of the few pictures that you could actually see stripes!)
And then I painted a thick white stripe at the top of Hallie's room:

And then I painted stripes in the playroom:
 So of course it should come as no surprise that I needed to paint stripes in our new home. I loved the playroom before, so I went with it. But stripes can be tricky. I've had my fair share of practice and I have a few suggestions:
1. Create an odd number of stripes. This will allow you to keep your base color on the top and on the bottom which means you don't have to tape of the ceiling or the baseboard. This will make your life easier.
2. Use a good tape. I've traditionally used the blue painters tape, this time I opted for the green "frog" tape. It was more expensive than the blue but I think it worked well. I always seal my tape (see #3) but you might not have to with the green tape. It might be worth trying on a smaller project!

3. Use a laser level. Borrow one, buy one...whatever it takes, but this will save you time and serious headaches. Once you determine where you want your stripe, position the laser level and then tape along the laser line. I've done it without and let me tell you, the level makes a world of difference. It's worth every penny!
4. In order to eliminate bleeds, after taping off your stripes use the base coat paint and go over the edges of the paint. (you only need to seal the edge that will be touching the stripe.)This paint will inevitably bleed, but it's the same as the base coat so you don't notice it and it seals the paint so there's no bleeding of the stripe.

5. Work quickly! The green tape has an interior use of 21 days. So you could really have it on your wall for quite a while, but I don't recommend it. Because I'm always trying to fit projects in whenever I have a spare moment I ended up taping one day and painting the next. But once you start the painting stage, work quickly. I sealed my paint (with the base coat) and completed painting the stripe within 2 hours. As soon as the last stripe was painted, I started ripping down the tape from the top stripe. This makes it easier to remove the paint without pulling off any paint.
 And just like that- you have stripes.

This is awesome and so helpful! By the way, the playroom looks great :)
ReplyDeletelove your striped walls! i heard about using your base coat to seal the tape and think it's such a great idea...i only wish i knew that when i did my own laundry room!
ReplyDeletehttp://nuhasofiyan.blogspot.com.
Seriously Kara, do you ever sleep? I'm amazed that with 3 kids you can do all of your projects! You amaze me!
ReplyDelete