Showing posts with label Building Projects. Show all posts

Tuesday, May 17, 2016

Easy DIY Shiplap Wall...

I'm not sure how I missed posting this sooner - considering it's been done for over a year now!

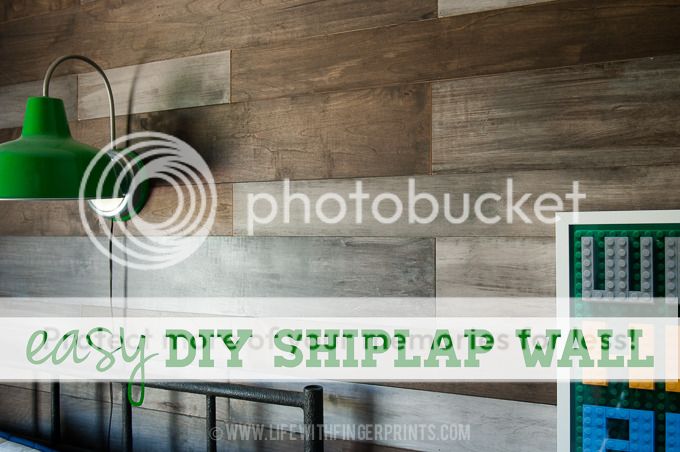
Easy DIY Shiplap Wall
I know I'm not alone in my love for shiplap - thank you Joanna Gaines! And yet it always seemed like a lot of work. Not only that, but I questioned just how long I would love shiplap. And when I get tired of it, I will have to rip it down and repair the wall behind it. Yet, I had a wall in Hunter's room that was screaming, "Cover me in wood!" And I obliged.

I found a pinterest image of a wall in a nursery room that I fell in love with. I loved the variation of the color in wood, I liked the relclaimed look. I found a company locally that sold reclaimed wood and I priced it out - over $2000 to cover one wall. That wasn't in the budget. I went back to my inspiration picture and traced it to a design group website - who just so happen to sell a tutorial to the wall. Part of me knew it couldn't be that difficult and I could definitely figure it out on my own. But part of me wanted to follow a step by step instruction and get it done. I spent the $15 and bought the tutorial. I'm glad I did.

The tutorial walked me through step by step as to what to do. I did deviate from the plans just a bit. It called for pine boards in different widths. I knew finding nice, straight boards would be hard. I bought plywood and had Home Depot rip it down to the different widths that I needed. The most helpful part of the tutorial was being told what custom stains to purchase and the process of creating different colors. Paint white on these boards, stain these boards wipe off after 3 minutes, stain these boards, wipe off after 7 minutes...you get the idea. It gave me the color variation I loved in the reclaimed wood.

Here's how the room started out.
Easy DIY Shiplap Wall

I prepped and stained the boards per the tutorial.
Easy DIY Shiplap Wall
I located the studs on the wall and used a brad nailer to nail the wood directly to the wall. I started at the bottom (I chose a plywood depth that worked with my baseboards) and worked my way up putting a penny in-between for spacing.
Easy DIY Shiplap Wall
It was a weekend warrior project while Steve was out of town and he was pleasantly surprised to find it finished upon his return. It's very masculine - perfect for my boy's room and definitely a look that will grow with him.

Wednesday, February 3, 2016

Project Week...

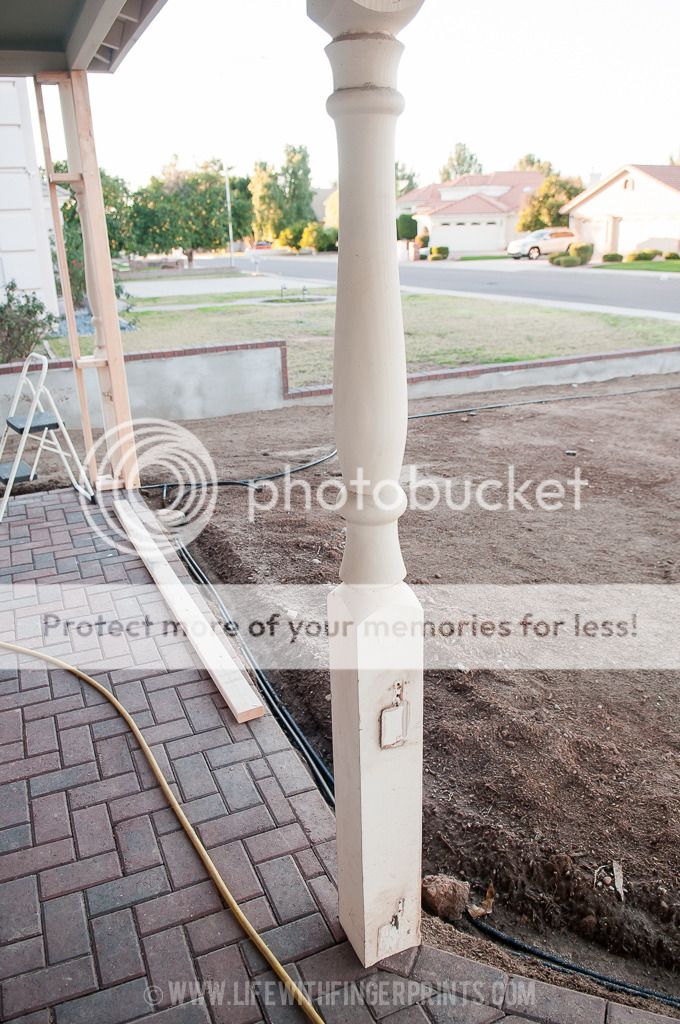
My dad is in town for what has become his annual spring visit - lending his helping hand in moving our projects forward (because that's what makes sense when you're as pregnant as I am!). Today's project: wrapping the patio posts. We have traditional turned posts that once complimented the victorian style of the house.
 photo 20160202-DSC_4873.jpg
But, part of the landscape renovation was updating the look of the house just a bit. Years ago we removed the gingerbread and white picket railing. Now, we're covering the posts; much more economical than replacing them all together. As with most of projects - there was a strong learning curve on this process. Fortunately, we have seven posts, so we're becoming more efficient with each one. We got over half of them done today and we'll be back at it tomorrow.
 photo 20160203-DSC_4883.jpg
 photo 20160203-DSC_4882.jpg
Once they're wrapped we'll move on to trimming them out. And once that's done...my mind swirls with what project to tackle next!

Thursday, November 19, 2015

Wooden "Give Thanks" banner...

Several years ago I made a "Be Grateful" banner out of wood. I loved it so much but there was one small problem - I made it out of pine and that thing was heavy. It tore many Command strips off the wall! This year I reprised the project and made it out of thin underlayment - plywood.

I had Home Depot cut the plywood into strips and I used the miter saw to cut the triangles. Working with plywood like this can be a bit tricky and it leaves plenty of splinters. One side has a much nicer finish after the cutting process - I stained that side.
Wooden
Wooden
Wooden

The other side, which wasn't so nice, got a couple coats of chalkboard paint.
Wooden
I debated how I should put the letters on: hand paint, vinyl letters, burning with a hand tool or a foam stamp. I went the easy route and what was readily available to me. I then carefully painted the edges with a metallic gold paint.
Wooden
Wooden
It hangs on the entertainment center with two small command strips and so far the weight hasn't been a problem. Not only that but the wood tones look much better than the painted white "be grateful" banner I previously did.
Wooden
Wooden
You can see more details and a full tutorial at HowDoesShe.com.

Wednesday, November 18, 2015

4 year anniversary...

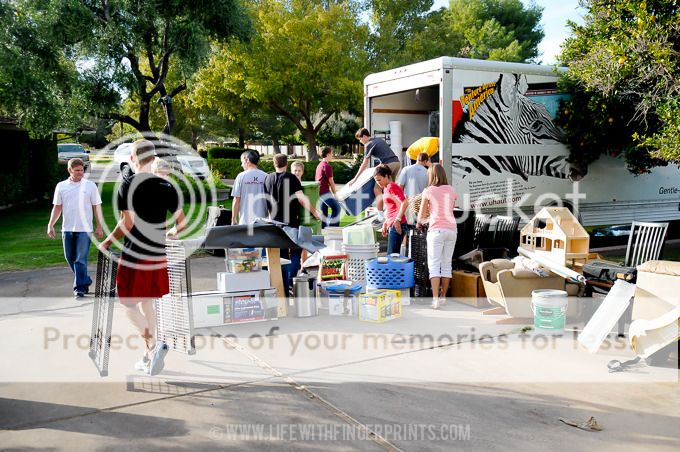
It's hard to believe we're only celebrating our four year anniversary of living in this house. It was just days before Thanksgiving when we first unloaded the truck (of stuff we hadn't seen in 10 months) and the overwhelming part of unpacking started to set in.
 photo 20111118-DSC_2291_1.jpg

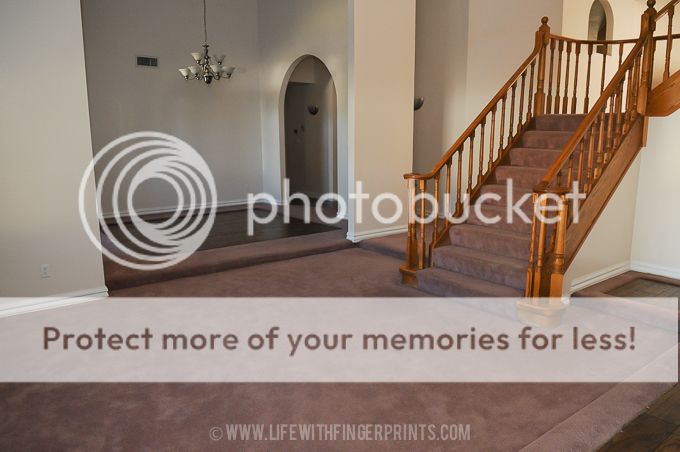
I still remember the first time we walked in and Steve didn't get as far as the living room when he made the statement, "There's no way."
Life with Fingerprints-2263 photo LifewithFingerprints-2263.jpg
I suppose the wall to wall mauve carpet (with sections of fake wood set in) was a little hard to look past. As well as the orange oak and 80's brass fixtures around every corner. It was due for some love and attention and I just knew I could give it the love it needed. Although Steve was skeptical and could not see my vision - he had faith that we could make it our home. And we have.
 photo 20140814-DSC_8728.jpg
It's home and it's comfortable and I love it. We've come a long ways in four years which is a little disheartening when I think of all we have left to update and fix. But there's no rush; we slowly chip away at our to-do list as money and time allows. My hope is by our 10 year anniversary of living here we might get it to where we both want it. Baby steps!

If I was handing out trophies to our home, they would be as follows:

Biggest visual improvement: Hardwood floors

Biggest stretch of my abilities: The entertainment Center

Most Prep Work: The staircase

Most admired by visitors: The green barn door

Most dreamed about project: A kitchen update

Most Maintenance: Our 13 orange trees (Which is why Steve is antsy to rip out half of them!)

Hardest place to keep clean and organized: The garage wins by a landslide!

It feels good to be home.

Tuesday, November 17, 2015

Motherhood in realtime...

I've enjoyed recording my kids seemingly normal moments in realtime. I figured for kicks and giggles I'd photograph one of my own moments in real time:
 photo 20151117-DSC_2936.jpg
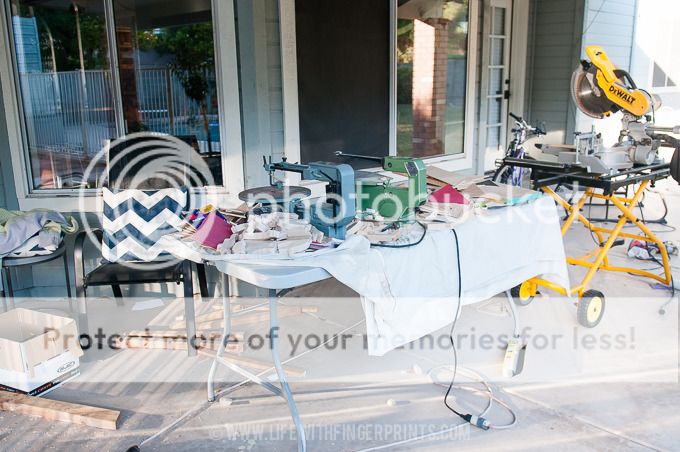
This is back patio right now. It wouldn't seem so bad if it hadn't looked like this for several weeks! I started one of those projects that I figured would be wrapped up much faster than was the case. Cannon's Christmas present has taken some time and then there was another little project that I managed to squeeze in.
 photo 20151117-DSC_2933.jpg
And because I only can find an hour here and an hour there - my patio has looked like this for too long. I'm grateful for a patient and understanding husband. And even more grateful that I still have all my fingers after spending hours on the scroll saw!
 photo 20151117-DSC_2939.jpg
Gone are the days of me finishing a project quickly without interruptions!

Thursday, September 3, 2015

DIY USA Wall art...

Here's a project that I completed back in April and I'm just now getting around to posting it. Its funny - I'll do a project, work hard to complete it and display it and then the newness wears off and I forget that I haven't posted any pictures.
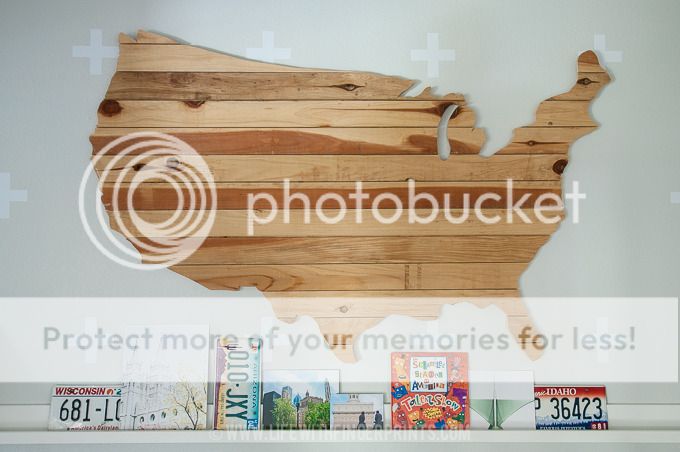
DIY USA wall art made from cheap fencing or pallet wood
I may have an obsession with maps and globes. It’s my hope that it creates curiosity and a sense of exploration with my children. This wooden DIY USA wall art is my new favorite wall decor and it was easy. I’m not just saying that…really. In fact, I had a friend do this project with me. A friend who had never picked up a jig saw before and she will agree, this is much more manageable than it looks.

You’ll need:
A sheet of plywood
Planks of wood; pallet wood or inexpensive fencing
Wood Glue
Nails
Projector of some type
Jig saw

Start by cutting a sheet of plywood roughly to the size of your desired map size. Home improvement stores will gladly cut this to size for you. Mine is almost 6 feet wide.

Lay out how your planks are going to sit on your plywood. I chose inexpensive cedar fencing with a horizontal pattern. Glue the planks to your plywood. I used heavy buckets of wheat to keep it flat while drying. You could just as easily throw some nails in the back to keep it in place as it dries.
DIY USA wall art made from cheap fencing or pallet wood

Once it’s completely dry, trace a backwards map on the plywood side using a sharpie marker. I used an LCD video projector, but an overhead projector would work with a transparency.
DIY USA wall art made from cheap fencing or pallet wood

Once the map was traced, I reinforced the entire perimeter of the map (on the inside of my tracing) with nails from my nail gun. I knew that the jig saw would be reciprocating and may cause some of the smaller pieces to come unglued – this helped keep everything together.
DIY USA wall art made from cheap fencing or pallet wood

With the plywood side up, using a jig saw, slowly cut along the marker line outlining the map. There are a lot of intricate pieces in the USA and I didn’t cut every little piece, a jig saw isn’t meant for fine cutting. Some cuts you’ll need to come at it from several angles in order for it to work, but be patient.
DIY USA wall art made from cheap fencing or pallet wood

At first you’ll want to try and follow every little curve and line, only to realize you really don’t need to. Depending on your size of map, the cutting out may take an hour or two. Go slowly. Take breaks – or else your hand may fall off from the vibration of the saw!

Flip it over and admire your work. You may see areas you want to clean up just a bit – or be more intricate on and if thats that case, flip it over and keep cutting.

I decided to keep this piece a little rustic. I sanded just a few of the edges to make them nice but I didn’t sand the entire piece. I liked the rough wood – it had character and charm. I also chose not to stain it, because I liked the variations of color in the wood. But you can choose what fits your house and style – sand and stain if desired!
DIY USA wall art made from cheap fencing or pallet wood

I originally posted this at HowDoesShe.com

Thursday, March 5, 2015

The playhouse/shed...

I'm having a hard time turning my attention back to the shed. True to form I got the majority of the building portion done and then I needed to step away for a little breather before I start attacking the details. Which is funny, because I'm a very detailed oriented person, and I enjoy details. But hours and hours into the project, the details aren't sounding like fun!

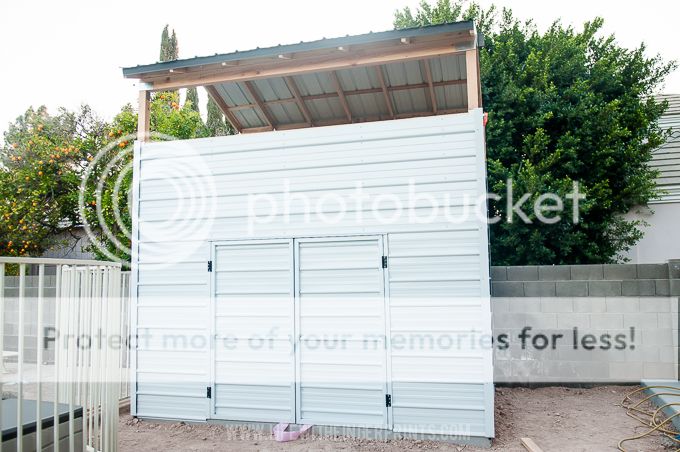
Here's how it looked the day my dad left:
 photo Shed-5919.jpg
Proudest moment: When we installed the doors and they fit! Not only did they fit, but they opened. That my friends is a victory!

The bottom portion is a shed for our lawn equipment and the top portion that's open is a clubhouse. I originally wanted the clubhouse completely open with just a railing that went around. But we opted for the safer option of enclosing it - as Steve pointed out an advantage of enclosing it is not having to see the mess that will become the clubhouse!
 photo Shed-5920.jpg
The biggest hangup at this point: finding the safest way to get up and down, we've left an open spot for something...anything.

Ladders are great but they can be hard for little feet to get down. Fireman's pole was an option but once again, we were fearful of an accident. We figured our kids are going to be in there enough that whatever we do, they'll figure out and they'll get up and down no problem. But when the neighbor kids come over - how will they get down safely. The easiest option we're thinking is an enclosed slide. But we're limited on space and we don't want them sliding down into a concrete pad. A swirly slide will work. Neither of us are jumping for joy at that option but it's probably our safest bet.

We're thinking of putting a slide in and then figuring out what type of ladder will work with it. It's always a process. And processes are known to take time.

In the meanwhile, I've been trying to think of ways minimize the "shed" look. Trees, bushes, vines. Something that will withstand our delightful dry summers. And then of course I've got to have the kids decorate their space. Yea, this won't be finished for a while.
 photo Shed-.jpg

Wednesday, February 25, 2015

Building partner...

I always have these grand building ideas - then I convince my dad to help me implement my ideas (Barn door, dining table and entertainment center). I shoot for one big project a year and this year was nothing short of big: a shed/playhouse. We just spent the last 10 days (9 working days) pulling out every tool I seem to own to build this thing. As most of our projects go, we started out on time and ahead of schedule. By the time we got to the end it was crunch time (it's how we/roll). The finishing details seem to take forever! I'm always so optimistic that we can finish up with plenty of time to spare. And yet, I sent him on his way today just minutes after finishing...semi-finishing. There's still a few details I've got to collect some materials to finish, but we're getting closer.

I dropped him off at the airport and came home to a patio that looked like this:
Life with Fingerprings: Shed Building photo ShedBuilding-5916.jpg
Life with Fingerprings: Shed Building photo ShedBuilding-5915.jpg

It might be hard to see in the picture but there is a miter saw, compressor, nail gun, circular saw, reciprocating saw, drill, angle grinder, level, socket set, palm nailer and what seems to be every nail and screw that Home Depot sells. There was a lot of stuff on that patio and tonight we cleaned it all off. Tools went back to their respective homes. Nails were put back in their boxes. Blades were put away. It looks just the way it did 10 short days ago.

I like finishing projects, but I hate losing my building partner. I wish he lived closer. He's probably glad he lives far away. He knows very well if he lived closer my annual building projects with him would turn into a monthly gig!

My kids are sad they lost their "Old Maid" partner. I'm not sure how many times he ended up playing that game with them! We're missing him already.

Life with Fingerprings: Shed Building photo ShedBuilding-5843.jpg

Monday, February 23, 2015

Shed building...

I've been in shed building mode with my dad for a week now. It's all consuming as my house clearly is evidence of. Our patio looks like Home Depot threw up all over it with tools and wood here and there and everywhere. The last two days have been anything but productive. Why is it that it takes a day or two to build and then 5 hours to build a door?!? How is that even possible? And then the minute I get tired, mistakes start to happen and suddenly two hours turns into much more.

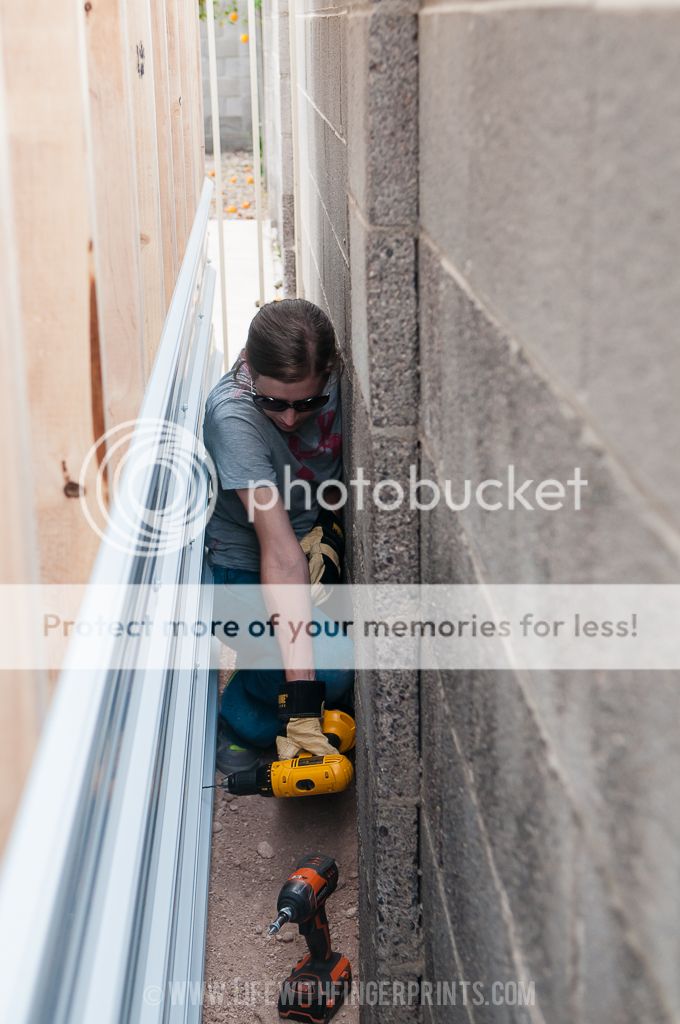
Fortunately the first half of last week was much more productive. It's framed. It has a roof. It has siding. And in case you were wondering it's not easy to put on siding next to a block wall. 11 inches. That's the space I was working in. I never thought I was claustrophobic but it turns out I kind of am!

Life with Fingerprints: Shed building

Thursday, February 12, 2015

Shed preparation...

It's been a year since my dad was here helping me build the entertainment center. There's been a million and one projects since then that I've envisioned and most of them were large enough tasks that I wanted to fly my dad down to help. He doesn't do extreme heat so that leaves the fall and spring. Fall is hunting season. Sooo...spring is finally here and my dad shows up on Sunday to help me build a shed/playhouse. Our current shed has seen better days and we'd like an area for the kids to have a playhouse so I'm combining the two into one area. I've drawn and redrawn plans in illustrator. I've debated every material. I've met with contractors to make sure I don't screw this up. I think I'm ready.

We've been getting the area ready before my dad arrives by having concrete poured for the foundation.

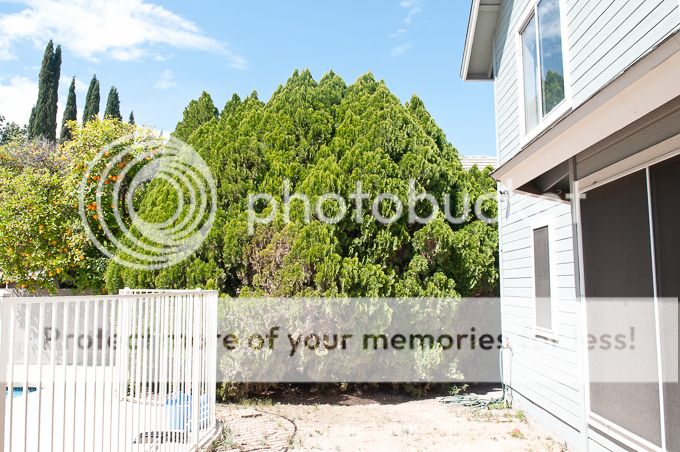
A year ago we had these enormous overgrown bushes.
Life with Fingerprints: Shed preparation
Which we ripped out.
Life with Fingerprints: Shed preparation
And for over a year it's looked like this. It's become a weed magnet and we've spent too much time spraying and pulling weeds in this area. It was the perfect spot to build.
Life with Fingerprints: Shed preparation
We also have this random area on the side of our house that was ridiculously filled with weeds. It wasn't visible to many and it's embarrassing to admit that this is mild compared to the three foot weeds that have been known to grow here!
Life with Fingerprints: Shed preparation
We had a great company come in and pour our foundation. Because we were already paying to have them at our house, it was cost efficient to have them pour a couple areas - an area on our driveway as well as weed alley.
Life with Fingerprints: Shed preparation
We had two very curious boys and it took everything in me to keep them out of the patch right outside this door. I thought for sure I would find Cannon's footprints all over it!
Life with Fingerprints: Shed preparation
And now we're ready. Ready to see if I ordered enough product. Ready to see if we can finish it before my dad has to go home. Ready to see if we really know how to build. I've got a couple contractors on speed dial to answer my questions!
Life with Fingerprints: Shed preparation
Wish us luck!
Related Posts Plugin for WordPress, Blogger...