
What started out as a wall in our entry ended up with a hole in it one day when I needed a project. (here)

Then we decided the mauve carpet had to go and it became this:

And for the longest time the room sat empty as I decided what I ultimately wanted to do. I finally decided on a color and determined I wanted a big bold pattern. Herringbone ended up being the pattern of choice. I originally thought I would use a stencil to complete the pattern but I wasn't sure if a stencil would give me the crisp lines I needed to make it look good. So I decided to do it the hard way!
I drew the wall to scale on the computer and drew the pattern to scale. This gave me a good idea as to what it would look like and I was able to change it until I was happy with it.
 Using my handy dandy laser level I taped off every other vertical section of my soon to be pattern. (10 inches apart) I then measured six inch increments on both sides of the section and taped a diagonal line from one mark to the other.
As I do with all taping projects, I painted the original wall color over the tape to seal it. This ensures that when it bleeds (because it always does) it's not noticeable. Then I went over with the accent color and because the tape was sealed it leaves a nice crisp line.
 I painted the wall and was feeling pretty good about myself. The next morning I pulled off two diagonal sections only to realize the color I painted wasn't enough contrast to the wall and wasn't very noticeable. I went back and bought more paint and repainted the wall.
  I removed the tape and was left with this:
I taped off the opposite vertical sections and once again marked six inch increments and taped more diagonal lines, but these diagonals went the opposite direction than the first set.
 Pulling off the last section of tape was heavenly. I could hardly contain my excitement.
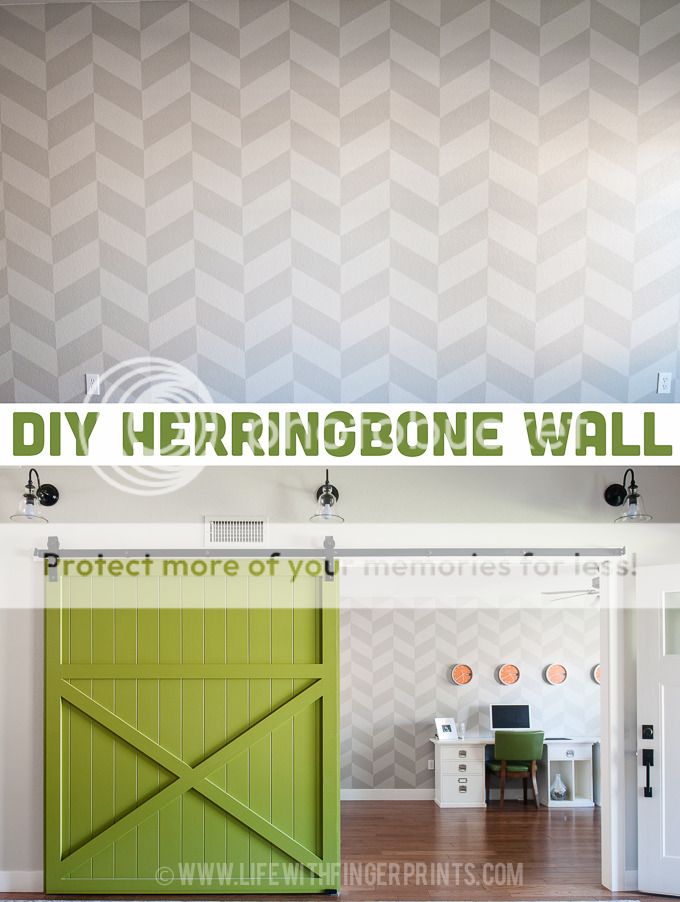
  I've moved my desks back in and once my computer finishes this painfully long cloud back-up (here) then I'll get it all situated. I originally had big plans for filling the wall. Two 10 foot photo ledges filled with loving pictures and cameras. But now that the wall is done, I might have a hard time covering it up. I'll live with this for a while and see what crazy idea I come up with!
That is AWESOME!
ReplyDeleteHoly project! I love it!
ReplyDeleteThat is the coolest thing I have ever seen!!! Great Job
ReplyDeleteIt turned out so great. I vote for not covering it up completely. Not with how great it looks...
ReplyDeleteunbelievably cool! Looks amazing!!
ReplyDeletethis is gorgeous!!
ReplyDeleteoh my gosh, i LOVE it!
ReplyDeleteUN-BE-LIVABLE!!!!! You are truly amazing!
ReplyDeletethe thought of all that work gives me anxiety :)but the end product is "WOW, AMAZING!"
ReplyDeleteKara, that looks amazing! I love it and seeing all your fun projects.
ReplyDeleteKara, you are amazing! That wall is gorgeous!
ReplyDeleteWOW! I don't think I would ever attempt that. I love it.
ReplyDeleteWowzers. How did I miss this?? I need to get over there!!
ReplyDelete