
A year ago, my pantry looked like this:
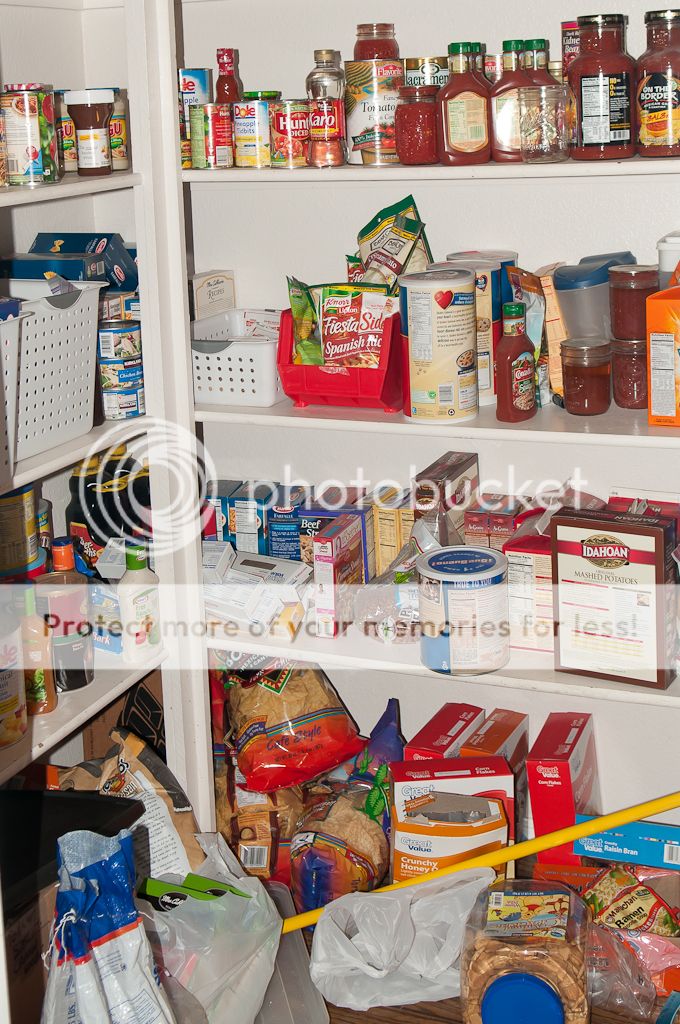 Amazingly disorganized and messy, I know. And no matter what I did I couldn't keep that small space organized. At the beginning of this year I bought some can consolidators, matching bins and it started to take shape. For over a year, I had intentions of building crates on rollers to fit perfectly underneath the bottom shelf but somehow the mess didn't bother me enough to take action as soon as I had hoped. In May I had some money left in my home budget so I bought the wood and started building.

May is quite warm in Arizona and I found myself outside after the kids had gone to bed to avoid the heat, building five custom sized crates.
The base of the crate is mdf that is encased with 1x6 pine boards. I used 2x2 boards in each corner to give something to nail the corners to. The base of the crate was a 1x6 but to add some interest, I used 1x4 boards to complete the crate, nailing into the 2x2 of each corner.
I finished building them just two days before our summer vacation to Idaho so I stacked them in the garage before leaving. By the time I got home it was too blasted hot to work on them. Yet each time I got in my car they mocked me in their unfinished state. Like I said before, I'm dying to start working on the nursery but I knew I had to finish the crates regardless of the heat. So last week I pulled them out and finished them up with several coats of spray paint (Rustoleum paint and primer in one) and utility wheels screwed to the bottom. Saturday's project required me to clean out the bottom section of the pantry just to make room for them and by the time I rolled the last one in its place I kicked myself for taking so long on such an easy project.
 And in true Kara fashion, although they look finished, they're not quite there; I've still got to figure out a handle. Yes, they're easily pulled by grabbing the top but they would work better with a handle. I don't want to spend a fortune because it's just not worth it to me on a rustic crate that no one really sees but I do want it to be functional. I'm thinking of one of these from Lowes or Home Depot:

I feel like a little kid running to their parents, "I cleaned my room can I play with my friends now??" or "I finished my crates will you please not roll your eyes when I tell you I'm ripping off the chair rail and painting the nursery??"
It's going to be a good week!
Rope handles, possibly?
ReplyDeleteDang, girl. Great job.
Yep. Love them. I like the rope handle idea. That would be fun and rustic looking! And inexpensive, eh?!
ReplyDeleteGood thing that I know "to compare" is WRONG (and a joy suck), otherwise I would compare your pantry and building ability to mine and I would be the loser. Great job!! You are an inspiration to all.
ReplyDeleteI need these! Did you draw up a plan you can send me or did you just wing it?
ReplyDeleteIf only I HAD a pantry, lol! Nice job! (Saw your project in today's "Daily dose of DIY" email newsletter.)
ReplyDeleteThanks!
DeleteAre there instructions somewhere?
ReplyDeleteThis was one of those projects that I didn't have a formal plan and I just came up with it as I went along. I did add another picture and a little more description to the post in hopes of a little further instruction. Hope this helps!
DeleteI need to do this! My pantry looks terrible...thanks for the inspiration. :)
ReplyDelete