
Instead of cutting the letters out of plywood, sanding, priming and painting - we used the paper mache letters from Joanns. The benefit to making them from plywood is the ability to make them any size and any font your heart desires. But we were on a tight time frame and we weren't picky.
We removed a strip from the back side using a utility knife so we could push the lights through and hide the cords.
 We measured where we wanted the lights to be placed. The globe lights were purchased from Target and came 25 lights to a strand.

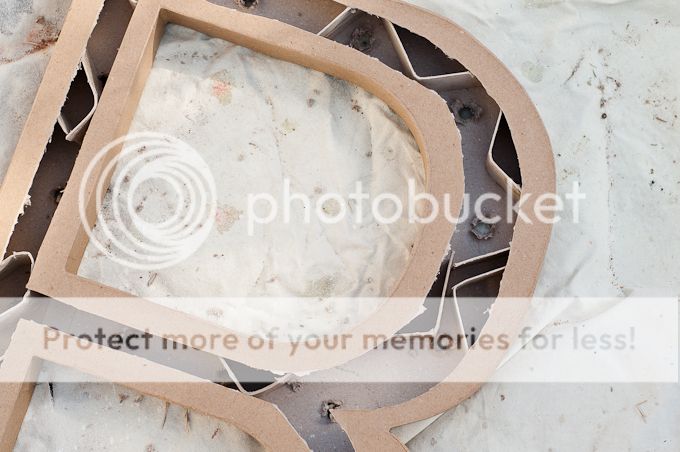
 Using a speedbor flat drill bit, we drilled the holes for the lights, making sure the hole was just large enough for the base of the light to fit through.

 We spray painted them a metallic gold color and attached them to a fabric covered board to put in a frame. It hung on an easel at the wedding dinner and also made an appearance at the wedding!

 Photo Credit: Shannon Elizabeth Photography
I'm now searching for the next marquee idea...
No comments:
Post a Comment