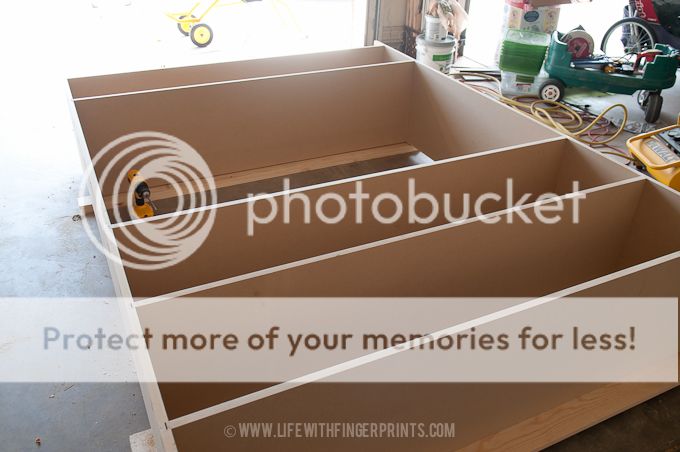


 Once the face frames were attached we moved on to the doors. We ripped down the wood using the Kreg rip cut to the height of the drawer. We ran them the through the router to create a 1/2 inch dado for the bottom of the drawer to sit in.


 After the kids went to bed for the night we were back in the garage building the six drawers (three for each side unit). We used 1/2 inch plywood for the sides as well as the bottom. We attached them together using glue and nails. Had these been high use drawers I would've opted for a more solid drawer such as a dovetail. But these are light usage and our assembly method will work just fine.
We locked up shop just before midnight. I had a sense of accomplishment after today. All three cabinets were assembled with face frames and all the drawers were built. We spent a considerable amount of time figuring out all the dimensions for the drawer hardware and I'm crossing my fingers that we measured everything correctly!
DIY Entertainment Center - Day 1
DIY Entertainment Center - Day 2
DIY Entertainment Center - Day 3
DIY Entertainment Center - Day 4
DIY Entertainment Center - Day 5
DIY Entertainment Center - Day 6

Can't wait to see the finished product!!! Miss you!
ReplyDeleteIt has been too long!
DeleteMaybe someday I'll make it to one of your workshops, and you can translate all this for me!
ReplyDeleteIf anyone can build, it's you Meagan! Just convince Cody you need to come down for a little visit...he can go golfing!
Deletewhat an awesome way to spend a week with your Dad!!!great modeling for your kids in many ways!!
Deletecan I ask why you made everything from scratch, even shelves/drawers, and didn't mix and match one of those Home Depot kits?
so you could get exactly what you wanted?
This was a really custom size to fit our needs and space efficiently. I did price out things like the drawers and when I saw the $250 price ticket, I opted to do it myself. If I did it again, I would probably outsource the doors - they were a lot of time and work. Good luck!
Delete