
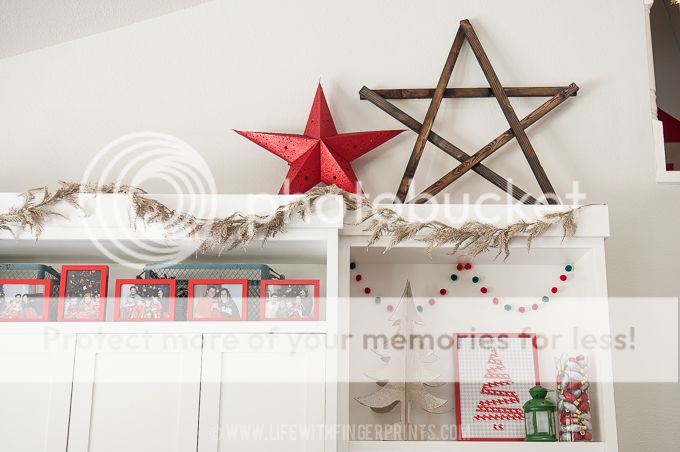
I bought the cheapest 1x2 wood that Home Depot sells. Less than $2 a piece. I cut 5 identical pieces and laid them out on the driveway to form the star, no fancy angles, just 90 degree cuts. Once I had it lined up, I nailed (with my nail gun but a hammer would be equally as easy).

Due to the nature of semi-thick pieces sitting on top of each other, the last piece that I nailed wouldn't lay totally flat. So I used a scrap piece to shim it so I could nail it flat.

Within 5 minutes I had the whole thing stained and my little sidekick never left my side!


Most the projects I showcased this week all reside in the entertainment center (that was nonexistent last year) - it took a lot to get it holiday ready!
Check out the other posts from Christmas Craft week
Christmas Crafts Part 1
Christmas Crafts Part 2
Christmas Crafts Part 3
Christmas Crafts Part 4
Christmas Crafts Part 5
Very cute! I really like the stain you used for it.
ReplyDeleteWhat a great simple, pretty project! The dark stain is lovely.
ReplyDeleteLoved all the Christmasy crafts!
ReplyDelete