
I had Home Depot cut the plywood into strips and I used the miter saw to cut the triangles. Working with plywood like this can be a bit tricky and it leaves plenty of splinters. One side has a much nicer finish after the cutting process - I stained that side.
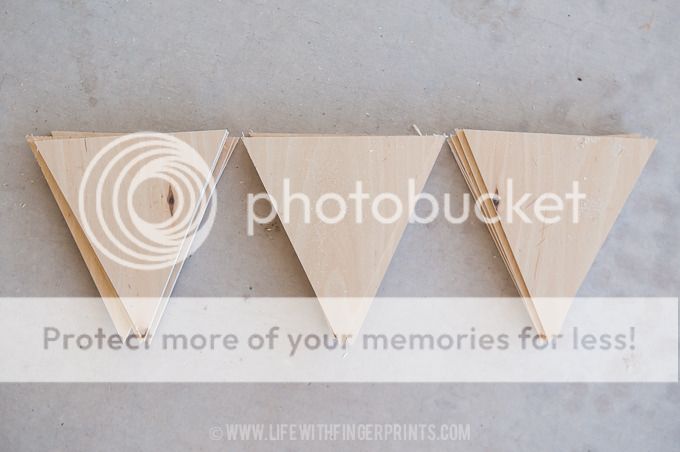


The other side, which wasn't so nice, got a couple coats of chalkboard paint.

I debated how I should put the letters on: hand paint, vinyl letters, burning with a hand tool or a foam stamp. I went the easy route and what was readily available to me. I then carefully painted the edges with a metallic gold paint.


It hangs on the entertainment center with two small command strips and so far the weight hasn't been a problem. Not only that but the wood tones look much better than the painted white "be grateful" banner I previously did.


You can see more details and a full tutorial at HowDoesShe.com.
No comments:
Post a Comment