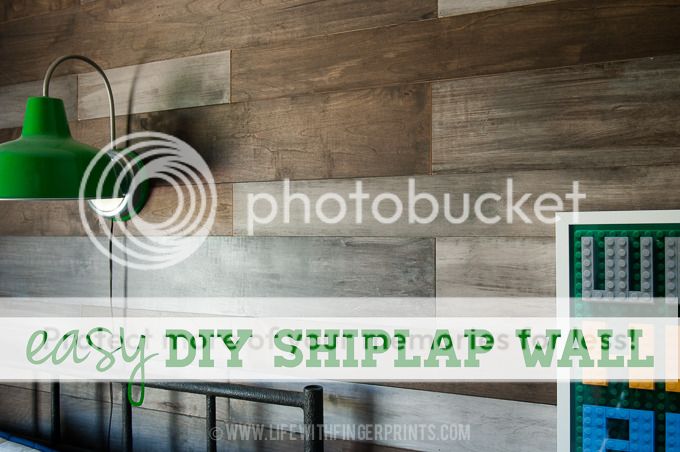
I know I'm not alone in my love for shiplap - thank you Joanna Gaines! And yet it always seemed like a lot of work. Not only that, but I questioned just how long I would love shiplap. And when I get tired of it, I will have to rip it down and repair the wall behind it. Yet, I had a wall in Hunter's room that was screaming, "Cover me in wood!" And I obliged.
I found a pinterest image of a wall in a nursery room that I fell in love with. I loved the variation of the color in wood, I liked the relclaimed look. I found a company locally that sold reclaimed wood and I priced it out - over $2000 to cover one wall. That wasn't in the budget. I went back to my inspiration picture and traced it to a design group website - who just so happen to sell a tutorial to the wall. Part of me knew it couldn't be that difficult and I could definitely figure it out on my own. But part of me wanted to follow a step by step instruction and get it done. I spent the $15 and bought the tutorial. I'm glad I did.
The tutorial walked me through step by step as to what to do. I did deviate from the plans just a bit. It called for pine boards in different widths. I knew finding nice, straight boards would be hard. I bought plywood and had Home Depot rip it down to the different widths that I needed. The most helpful part of the tutorial was being told what custom stains to purchase and the process of creating different colors. Paint white on these boards, stain these boards wipe off after 3 minutes, stain these boards, wipe off after 7 minutes...you get the idea. It gave me the color variation I loved in the reclaimed wood.
Here's how the room started out.


I prepped and stained the boards per the tutorial.


I located the studs on the wall and used a brad nailer to nail the wood directly to the wall. I started at the bottom (I chose a plywood depth that worked with my baseboards) and worked my way up putting a penny in-between for spacing.


It was a weekend warrior project while Steve was out of town and he was pleasantly surprised to find it finished upon his return. It's very masculine - perfect for my boy's room and definitely a look that will grow with him.

The ship lap design is so much pretty and modern looking for home condition improving. The color was so natural and eye catchy. Designing interior with that kind of design makes really huge sense. home improvement
ReplyDeleteThe ship lap design is so much pretty and modern looking for home condition improving. The color was so natural and eye catchy. Designing interior with that kind of design makes really huge sense. jrstumpy
ReplyDelete