I know gold is totally in right now: Gold hardware, gold frames, gold jewelry, gold dipped ___ (fill in the blank). And yet, I don't have gold anything. It's one of those finishes that I like when I see it in other people's homes, but I can't commit to it in my own home. But one thing I can commit to: Gold foil prints. They're all over Etsy and I love the punch they add to a bookshelf. Let me tell you: these are as easy as they are cheap.
Here's my post from HowDoesshe.com this month:
Gold foil prints are in and they are easier to create than I could have imagined. You only need three things to complete this simple project: A laser print, toner reactive foil and a laminator.
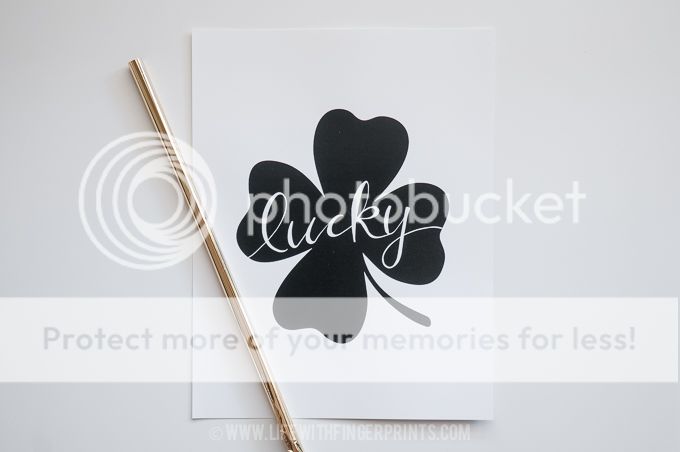
First, create your black and white graphic (get the shamrock
here) and print on a laser printer (which uses toner). We have an ink jet printer so I sent the file to my local print shop (Kinkos, Staples) and spent 14¢ to have it printed on card stock. Little tip – save yourself another trip and print 2 or 3 just in case you mess up!

Make sure your print is free from any dust or fibers (it will make it so the foil doesn’t stick in those areas.) Carefully roll out your toner reactive foil (find gold at
amazon or purchase a variety of colors by the yard
here) to completely cover your black and white image, gold side up.

Place a piece of plain printer paper over the top and carefully send it through your laminator. In order for this to work properly, the foil must get hot enough to bind to the black toner. I originally sent it through the laminator with card stock over the top and it didn’t work. My laminator also came with a laminating envelope which was too thick as well for the foil to get hot enough.

Once it comes out of the laminator and cools, you’ll see how the gold is stuck to the toner.


The only thing left to do is slowly pull the gold foil back and you’re done.


Quotes, holiday prints, cards…go crazy. Gold foil everything. You know you want to try it!


