Showing posts with label Decor. Show all posts

Thursday, June 4, 2015

"Grand Adventure" Baby Shower...

The first great-grandchild is on its way to the Pothier family. When I heard the exciting news I quickly claimed - if Kathryn, the mama-to-be, can make her way to Phoenix (they live in Wisconsin) I will throw her a family baby shower. (I'm always up for a fun party!) She loves us enough that she came for a visit!

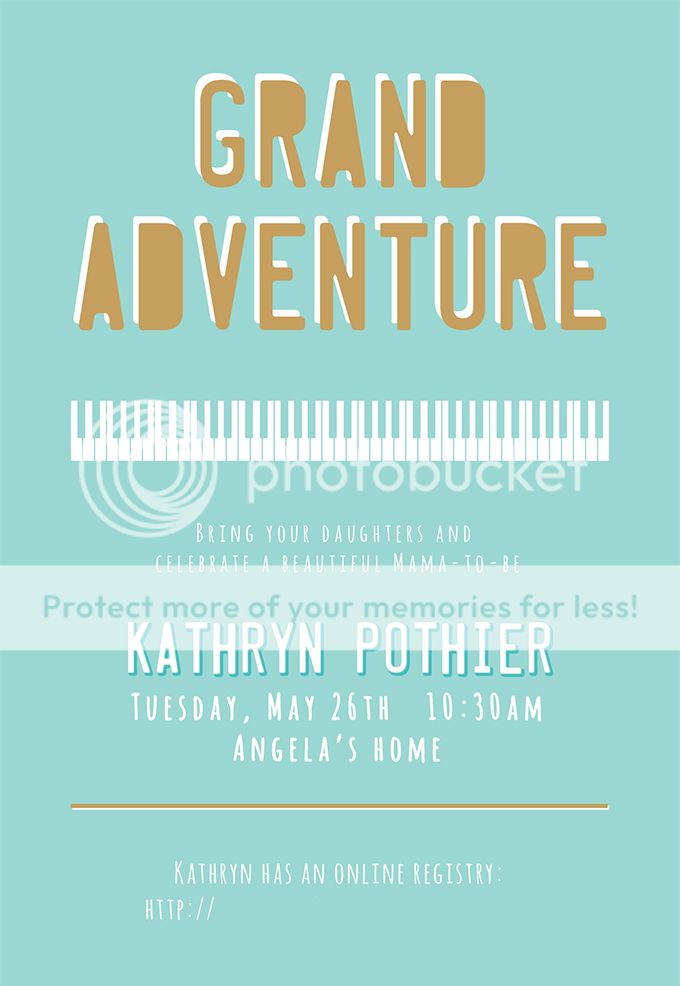
This woman has to be one of the most talented pianists you'll come across and it only seemed appropriate to throw a "Grand Adventure" baby shower with a delicious crepe bar.
Life with Fingerprints: Grand Adventure Baby Boy Shower; crepe bar, fabric bunting, coffee filter garland
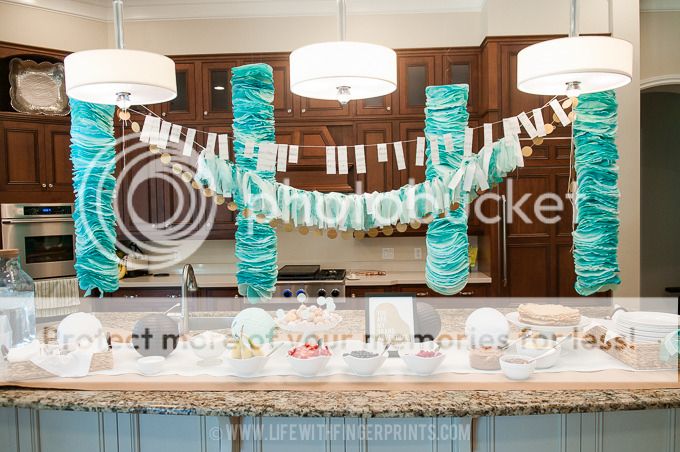
A fabric banner with two simple banners - piano music and gold circles.
Life with Fingerprints: Grand Adventure Baby Boy Shower; crepe bar, fabric bunting, coffee filter garland
I tried my hand at coffee filter garlands for the first time and I'm in love. Simple. Cheap. Big impact.
Life with Fingerprints: Grand Adventure Baby Boy Shower; crepe bar, fabric bunting, coffee filter garland
Baby boy already has a name - he is going to be a 5th generation Robert, or Bobby. Kathryn's mother had a picture of her when she was just a little girl holding her little baby doll and on the back of the picture, dated "1990", it read, "Singing to Baby Bobby". Way back when, Kathryn had a baby Bobby in her arms and she'll have one in her arms again shortly. We displayed the picture on the TV.
Life with Fingerprints: Grand Adventure Baby Boy Shower; crepe bar, fabric bunting, coffee filter garland
I'm not typically a shower game kind of person, but we had all the girl cousins there and I knew games would be fun for them so we played two little games. The first - we examined a tray of baby items and they tried memorizing everything on the tray.
Life with Fingerprints: Grand Adventure Baby Boy Shower; crepe bar, fabric bunting, coffee filter garland
The second game - we divided into two teams and we went back and forth singing songs with the word "baby" in it. Even the young girls contributed songs and it was fun to listen to the performances!
Life with Fingerprints: Grand Adventure Baby Boy Shower; crepe bar, fabric bunting, coffee filter garland
What's hard is knowing she's going to have that baby in Wisconsin and we're all going to have to wait to hold him!

Thursday, April 30, 2015

DIY Fabric Wall Mural...

Life with Fingerprints: DIY Fabric Wall Mural - create your own wall art using fabric, Pellon and an iron
A while back I came across a world map mural that I loved and I knew exactly where to hang it - in Cannon's room. I didn't pull the trigger for almost three weeks and by the time I was ready it was gone. I called the company and begged for them to find one in a warehouse somewhere, but they had nothing for me.

I was convinced that I wanted a large mural map to sit on the wall behind the crib.
Life with Fingerprints: DIY Fabric Wall Mural - create your own wall art using fabric, Pellon and an iron
I searched high and low and I couldn't find anything I liked as well as the one that slipped from my hands. So I improvised.

I decided to iron fabric to my walls. Yes, you read that right...iron. I've used pellon before in craft projects and it worked like a breeze. I was hopeful that I could get it to stick to my orange peel texture walls and it worked just like I had hoped.

I started out by laying out the wall to scale on my computer. (Anyone that reads this blog long enough will know that I always draw everything to scale on the computer first!) When I knew how large I wanted to make it, I carefully laid the countries in their final size out on a banner to be printed at staples.
Life with Fingerprints: DIY Fabric Wall Mural - create your own wall art using fabric, Pellon and an iron

I took some time and cut out each country. I picked out my fabric for each country, attached the pellon and then traced the country on to the pellon and cut out. It's a little monotonous to cut out the detail of every country twice - but it seemed like the best route at the time. Now that I own a projector, I would probably just trace it using the projector which would save at least one session of cutting out countries!
Life with Fingerprints: DIY Fabric Wall Mural - create your own wall art using fabric, Pellon and an iron
Once the countries are cut out, pull back the pellon and tape them to the wall for placement.
Life with Fingerprints: DIY Fabric Wall Mural - create your own wall art using fabric, Pellon and an iron
With a warm iron, slowly run the iron over the fabric and make sure to get all the edges.
Life with Fingerprints: DIY Fabric Wall Mural - create your own wall art using fabric, Pellon and an iron
The pellon attaches nicely to the wall and can just as easily be removed. I did learn this the hard way as my son's crib was next to the wall and while he was in his crib he liked to pull the edges on one of the countries. The good news is I found out it doesn't leave a residue!

It was apparent I needed to move the crib and we haven't had any problems since. I love the statement that it makes and it was a fraction of the cost of the original map mural I had my eye on.
Life with Fingerprints: DIY Fabric Wall Mural - create your own wall art using fabric, Pellon and an iron

Friday, March 20, 2015

Easter Decor...

With Easter just two weeks away, we're a little behind in pulling out our Easter decor but it's a high priority for the weekend!

Hallie and I were at the store this week and I found myself putting several Easter decorations in the cart only to realize I couldn't remember what we already had...so I committed to get everything out before buying yet another moss covered bunny.

Here are some fun decorations we made last year that we're excited to pull out again.
Life with Fingerprints: Cheap and easy Easter framed art using Pellon and a homemade frame
Easter Bunny Frame

Life with Fingerprints: Salt dough egg ornaments for Easter, easy craft for kids
Easter egg salt dough garland

Life with Fingerprints: Wooden Easter egg crafts
Painted Easter Eggs

Thursday, March 12, 2015

DIY Foil Prints...

I know gold is totally in right now: Gold hardware, gold frames, gold jewelry, gold dipped ___ (fill in the blank). And yet, I don't have gold anything. It's one of those finishes that I like when I see it in other people's homes, but I can't commit to it in my own home. But one thing I can commit to: Gold foil prints. They're all over Etsy and I love the punch they add to a bookshelf. Let me tell you: these are as easy as they are cheap.

Here's my post from HowDoesshe.com this month:
Gold foil prints are in and they are easier to create than I could have imagined. You only need three things to complete this simple project: A laser print, toner reactive foil and a laminator.
Life with Fingerprints: Make your own gold foil prints with toner reactive foil
First, create your black and white graphic (get the shamrock here) and print on a laser printer (which uses toner). We have an ink jet printer so I sent the file to my local print shop (Kinkos, Staples) and spent 14¢ to have it printed on card stock. Little tip – save yourself another trip and print 2 or 3 just in case you mess up!

Life with Fingerprints: Make your own gold foil prints with toner reactive foil
Make sure your print is free from any dust or fibers (it will make it so the foil doesn’t stick in those areas.) Carefully roll out your toner reactive foil (find gold at amazon or purchase a variety of colors by the yard here) to completely cover your black and white image, gold side up.

Life with Fingerprints: Make your own gold foil prints with toner reactive foil
Place a piece of plain printer paper over the top and carefully send it through your laminator. In order for this to work properly, the foil must get hot enough to bind to the black toner. I originally sent it through the laminator with card stock over the top and it didn’t work. My laminator also came with a laminating envelope which was too thick as well for the foil to get hot enough.

Life with Fingerprints: Make your own gold foil prints with toner reactive foil
Once it comes out of the laminator and cools, you’ll see how the gold is stuck to the toner.

Life with Fingerprints: Make your own gold foil prints with toner reactive foilLife with Fingerprints: Make your own gold foil prints with toner reactive foil
The only thing left to do is slowly pull the gold foil back and you’re done.

Life with Fingerprints: Make your own gold foil prints with toner reactive foil
Quotes, holiday prints, cards…go crazy. Gold foil everything. You know you want to try it!

Thursday, February 5, 2015

DIY Walnut Chalkboard...

I've worked with pine, poplar and maple and each served its purpose for a specific project but I have a new love; walnut. It has the most beautiful grain and color and I wish I could afford to build every project using it.

You can't buy walnut at home depot which meant I found myself at a local hardwood store where the man working was anything but helpful. Evidently a woman with a small child in tow isn't his typical customer. He was so helpful (sarcasm), at one point he asked another customer (who obviously buys a lot of wood there) to help me while he stood at the desk. Awesome. I think I had steam coming out of my ears. No, I wasn't on an errand from my husband. Yes, I have purchased hardwood before and I know how it works. I was so mad I didn't purchase wood that day and I was bound and determined to find another place to give my business to. Wouldn't you know it, it's the only one in the area close. Two days later, I swallowed my pride, took my baby back to the store and made my purchase without making eye contact. That'll show him!

I had him square one side (which he ended up squaring the wrong side - go figure), so I could run it through the table saw for my finished size.
Life with Fingerprints: DIY Walnut chalkboard using Kreg Jig, Graco TruCoat, Rustoleum Chalkboard paint
I also used the table saw to rout out the back side so the chalkboard would fit in it. This was yet another reminder that I need to buy a router because it took forever, especially since I wasn't cutting through the entire piece. Painful process.
Life with Fingerprints: DIY Walnut chalkboard using Kreg Jig, Graco TruCoat, Rustoleum Chalkboard paint
As usual, my Kreg jig made it's appearance and I joined the corners with glue and some screws.
Life with Fingerprints: DIY Walnut chalkboard using Kreg Jig, Graco TruCoat, Rustoleum Chalkboard paint
I've found I'm always happier with my joints if I pipe clamp them while inserting the screws. Much tighter fit.
Life with Fingerprints: DIY Walnut chalkboard using Kreg Jig, Graco TruCoat, Rustoleum Chalkboard paint
My favorite part about working with walnut - because the wood is so beautiful in its raw form - there's no need for stain. I did four coats of wipe-on poly to seal it and that's it.

I wanted a smooth chalkboard surface. I used birch plywood and I sprayed Rustoleum Chalkboard paint with my Graco TruCoat. This is one of those times that I almost convinced myself to paint it by hand because I didn't want to worry about clean-up on such a small project but that sprayer is so much nicer and even with cleanup it's way faster. The only disadvantage: You use a lot more paint.
Life with Fingerprints: DIY Walnut chalkboard using Kreg Jig, Graco TruCoat, Rustoleum Chalkboard paint
Following the instructions on the chalkboard paint, after you've painted the surface you need to rub chalk over the whole chalkboard. It makes it so when you write on it the first time, you're able to erase it.
Life with Fingerprints: DIY Walnut chalkboard using Kreg Jig, Graco TruCoat, Rustoleum Chalkboard paint

And now it sits in our kitchen lovely and full of little fingerprints!
Related Posts Plugin for WordPress, Blogger...