After working hard for four days straight, it was nice for Sunday to roll around so we could take a much needed rest! I got dressed (for reals, not yoga pants) for the first time in four days and didn't even have sawdust in my hair. Although as I sat in church I noticed just how much paint still sat on my cuticles and underneath my nails! The story of my life.
I really didn't think about or look at the project all day Sunday. As I was heading to bed just before midnight I had a quick pow wow with my dad to talk about the day ahead of us. We had just two full days left for building so we had to maximize our time. The quick pow wow turned into a 45 minute discussion on the construction of all the doors. We didn't have enough wood and my dad agreed to venture out first thing the next morning to buy more.
I went to bed a little nervous. There was no physical way we would be able to get this thing done in two days. No way. My head was swirling with thoughts as I tried to fall asleep.
Here's how day 5 went down.
Apparently my dad had thoughts swirling as well because he didn't sleep well and was up earlier than planned and off to the Depot.
He returned with all the best wood they had (which wasn't much) and I quickly rushed off to Cannon's doctor appt. My dad took on the task of cutting all the stiles and rails (for all fourteen doors/drawer fronts) to size while I was gone. He also used the router table to rout a groove the exact depth of our panel (we used 1/4" MDF for the door panels, which really measured as 7/32, so we bought a 7/32 router bit) on every piece.
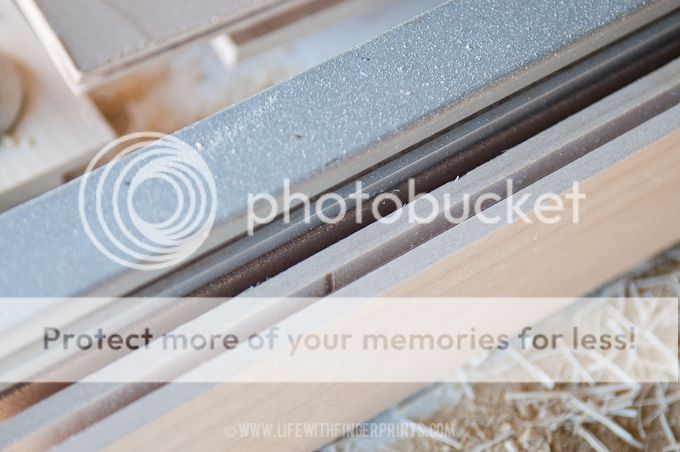
We went back and forth on the construction of the doors. Mortise and Tenon. Dowels. Pocket Screws. BeadLock. Each method had its advantages and disadvantages. I'm most comfortable with pocket screws but that would've required a lot of putty and sanding to fill them. The beadlock method would've required me going to buy another jig. So we tossed a coin and mortise and tenon won. Never before had either of us constructed a door this way so there was definitely some trial and error trying to figure it out exactly.
We used the table saw to create the tenon, making small passes with the table saw. (Found this great video tutorial
here that we followed)

Once we got one side cut, we'd flip the wood over and start cutting the other side. Because the blad was only partially raised, the portion not cut from both sides became our tenon.

We set the fence at 3/4 inch so we would be left with a 3/4 tenon to fit in the 3/4 deep mortise.

By early afternoon I was feeling pretty happy with the progress and then it started to go downhill quickly. We made a few small errors in cutting wood which led us to need even more wood. We had already scoured two Depots and picked through all their wood. So I sent my dad to yet another depot in search of decent wood to complete the doors.
It took a while but he finally came bearing gifts of wood. We got them cut to size and created the mortise and tenon.
Preparing to put the doors together we realized some of the wood had been cut to the wrong size. Cue the silent swear words from my dad as he knew we were already short on wood.
Later in the evening we found some other wood not the correct size. I think there was a pencil thrown. Possibly a door slammed. Not good at all. We were both tired and frustrated and clearly in this state of mind, errors became more abundant.
We should've stopped for the day. But we didn't so you can imagine the errors didn't stop there. No. I was cutting the panels for the doors and even consulted my drawing as to how it should all be cut and still I cut them (not utilizing the board as I had planned) which left me short of wood for the backing of the unit. Again. There was a lot of anger in the garage that night! I think the stress of knowing our time was short was sitting heavy on us, hence all the errors.
We had to get the doors built so they could be painted the next day.
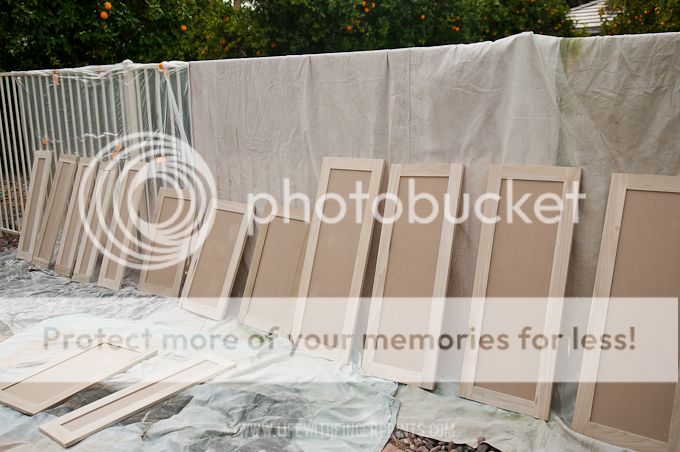
With all the frustrating mishaps of the day, surprisingly we managed to construct all the doors and drawer fronts. Of course, not without wanting to throw half of them against the wall as we worked and reworked to make them square. They day was pretty awful. We were both done and had we not been so far into the project I would've taken this as a sign that we were not capable of completing said project. But we were too far to turn back. So we shut off the light just after midnight both in awe of just how hard the day ended up being for us. One day left with my dad's helping hands...
DIY Entertainment Center - Day 1
DIY Entertainment Center - Day 2
DIY Entertainment Center - Day 3
DIY Entertainment Center - Day 4
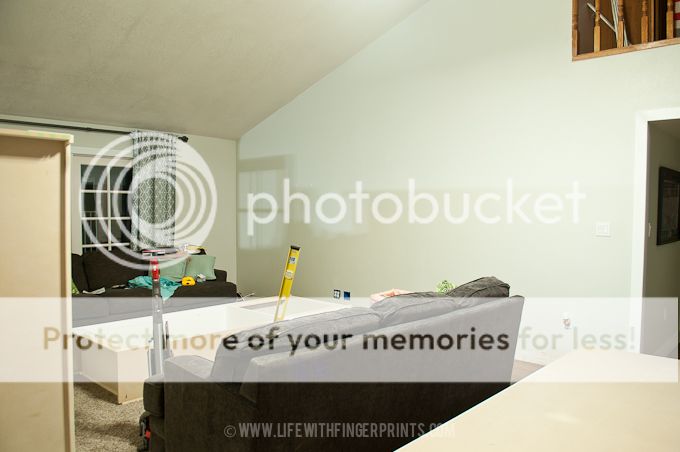
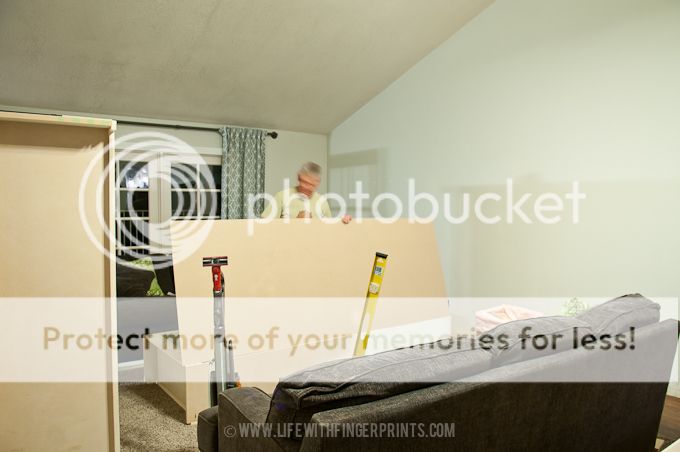
DIY Entertainment Center - Day 5
DIY Entertainment Center - Day 6


 My handy dandy
  Just after dinner we had a short window with Steve's help before he ran off to a meeting and we brought each of the three units into the house. We didn't put them in place, but they were in the house, and I wanted to scream with delight from the rooftop.
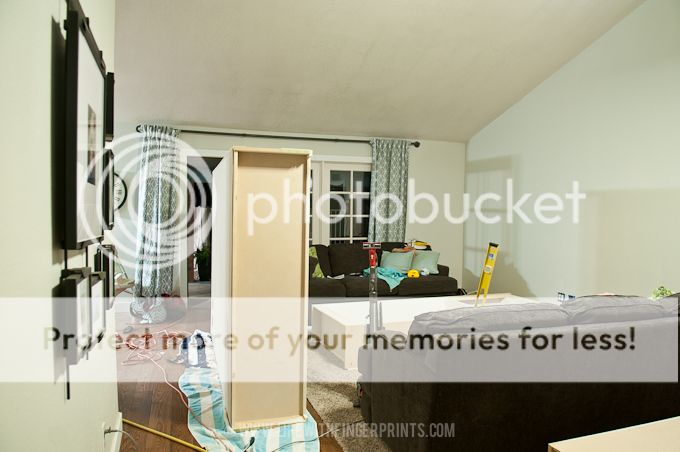
 We made a last minute decision to add a cable box behind the unit (we don't currently have cable but didn't want to limit ourselves in the future) which took some figuring out. At 10:30 the box was finally installed without a cable and Steve said goodnight and left my dad and I with a disaster of a room.
 The minutes seemed to pass by too quickly and every time I looked at the clock it seemed later than I thought. I had to cut a 4"x1" slot using the jigsaw where the tv sat and through the shelf below it for the wires to pass through to the electrical outlet and it just about killed me. We had spent so much time on it and now I was cutting a hole in it?! I just prayed I wouldn't screw anything up and prayers were answered.
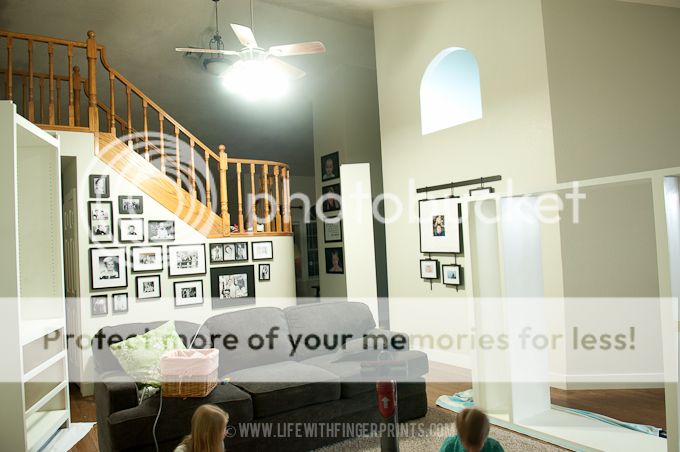
 I just about cried tears of joy as I shut off the light and walked to my room. We didn't reach my original goal, but we met the modified goal and I couldn't have been more grateful.
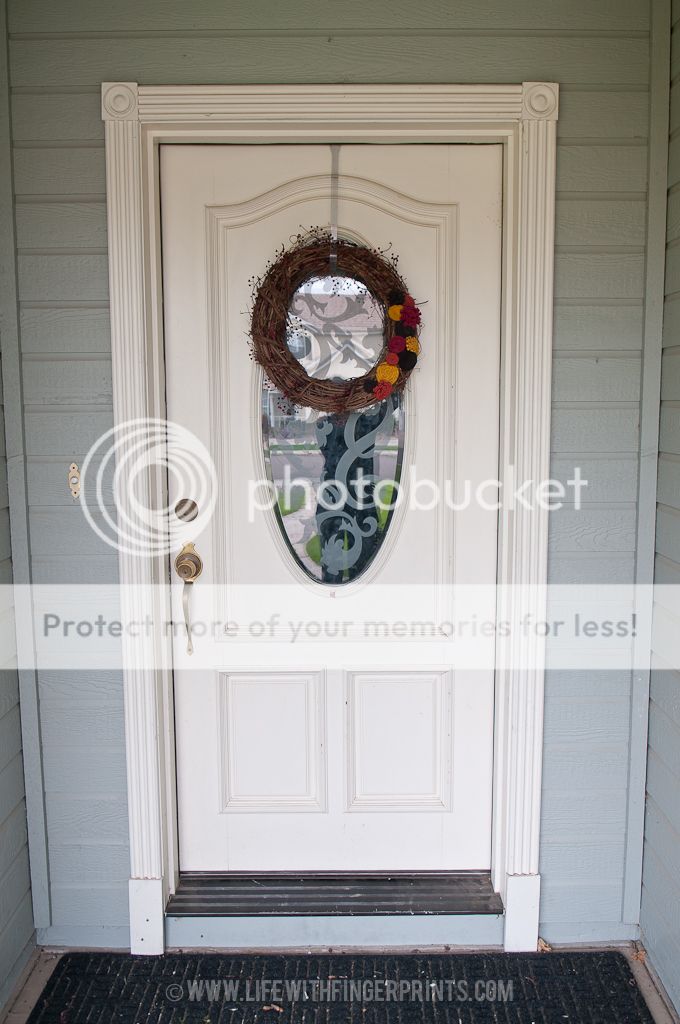
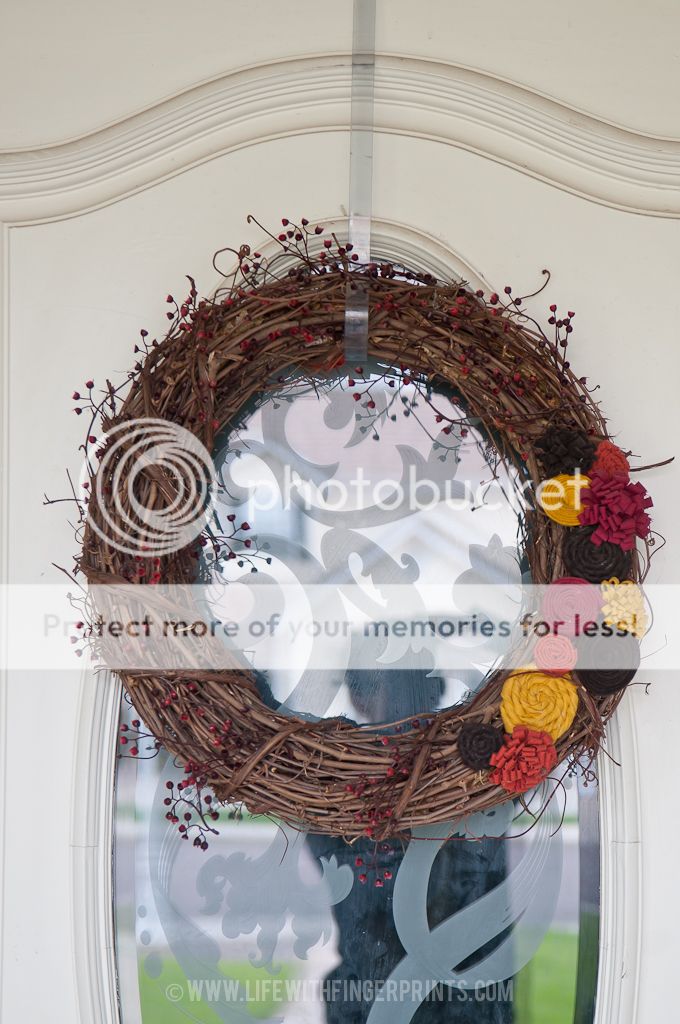 Yes that is a fall wreath. A fall wreath that has been in that position since...fall. There was no Thanksgiving wreath, or Christmas or Valentines...or anything besides fall.
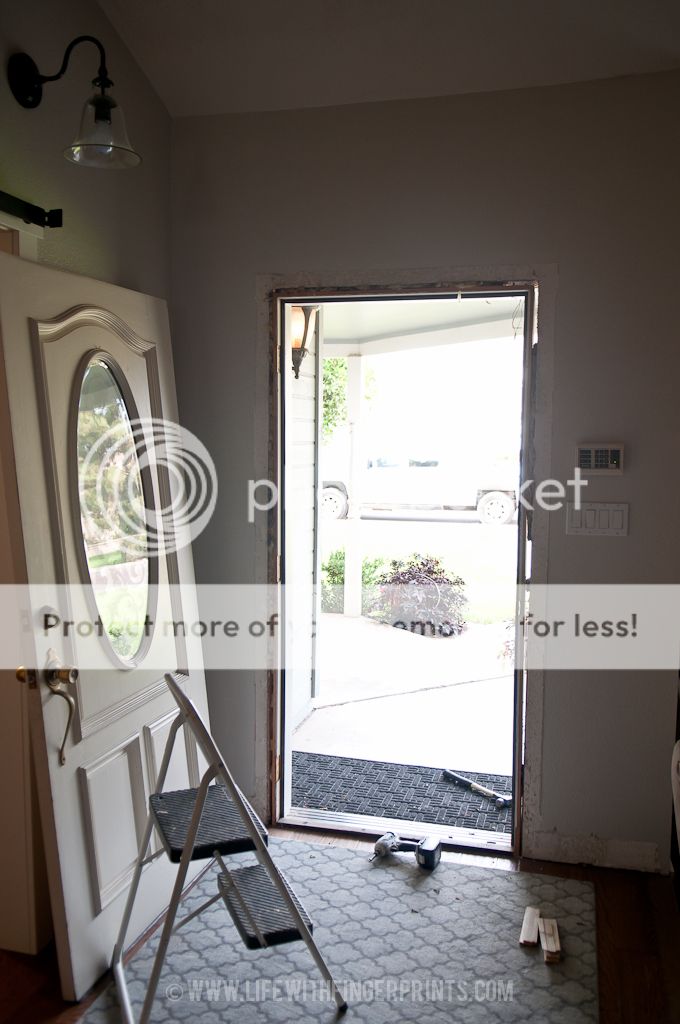 Goodbye fall wreath. Goodbye ornate designed oval glass. Goodbye broken brass handle. Hello fresh clean lines with functional lock!
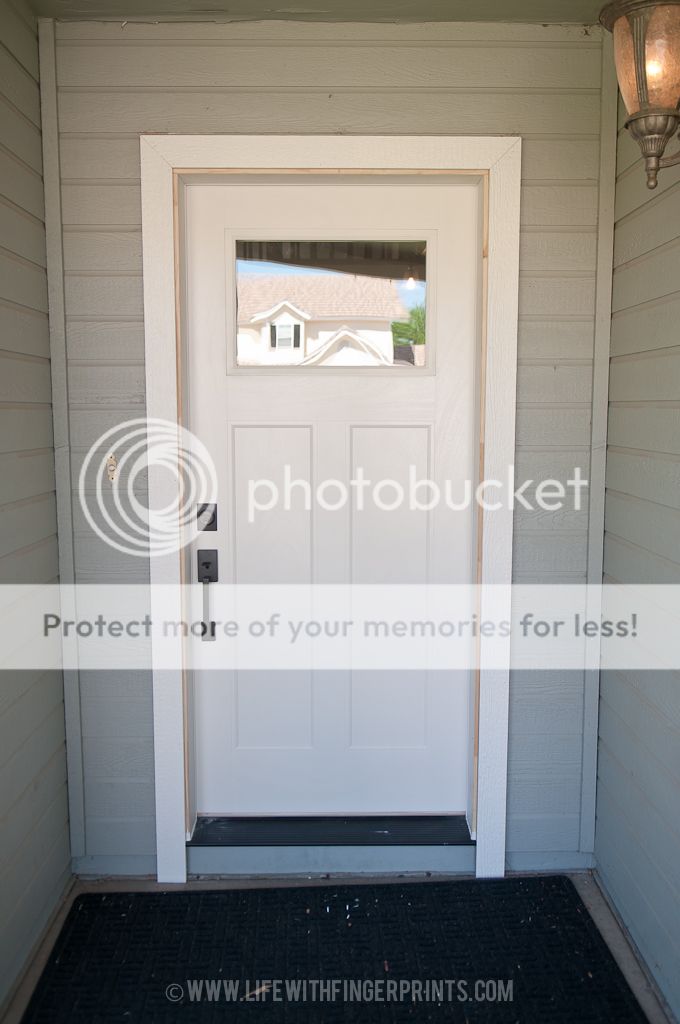
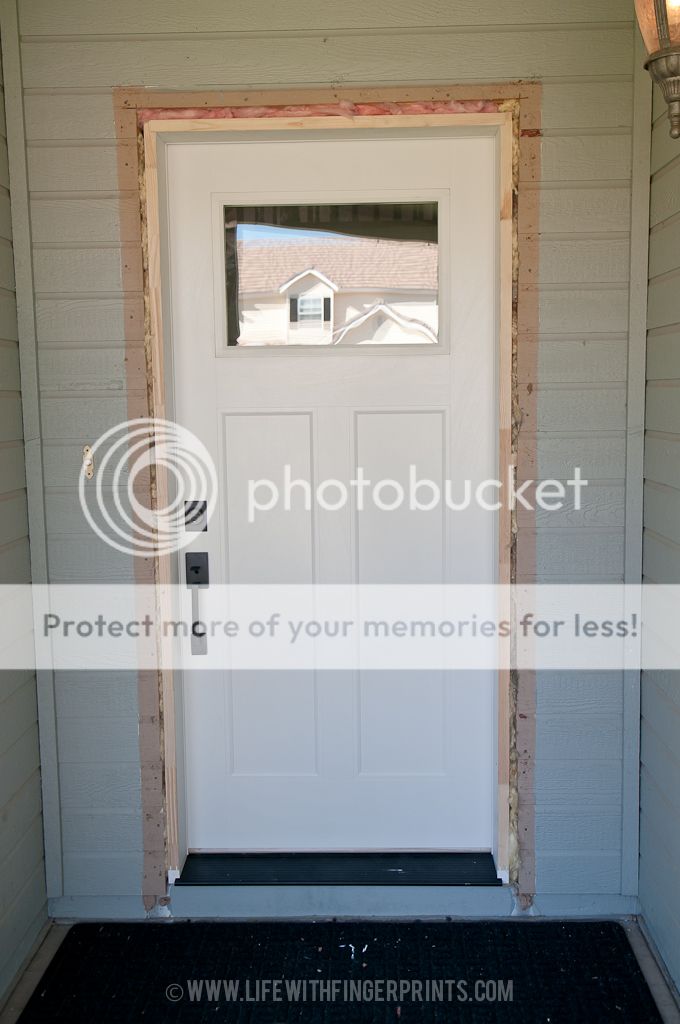 I spent this morning trimming it out (inside and out) and it's just lovely now.
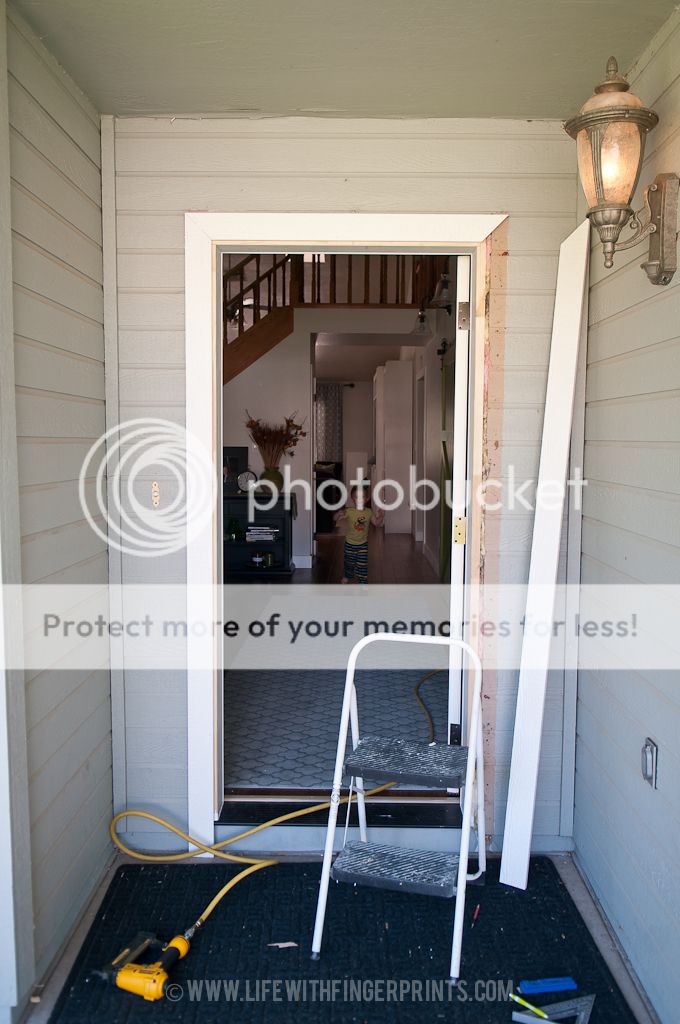 I'm kicking myself that we waited so long.
 After the skins were attached we were ready to prep for painting. We utilized the help of our minions to putty all the holes. This was the perfect age appropriate task for two kids that had been begging to help.
 I like to use
  After the putty was dry, we took the sander to all the units and made them nice and smooth. And then we sat and waited for Steve to finish his final so we could use his strength to help move the units for painting. And we waited a little bit more. And I would be lying if I didn't say that panic started to boil within me as I saw the time pass without any progress.

 These are three very large units and painting by hand would've taken me forever. I looked into having it painted and it was $1500. No thank you. A happy medium was me buying a small paint sprayer so I could paint it myself. Quicker than rolling it but way cheaper than our $1500 option.
 There was definitely a learning curve - probably should've worked with it a bit before I started painting a project I had spent hours and hours on. But it all worked out (with minimal sanding in some areas)! I primed and painted in just a couple hours and I was on cloud 9 thinking of all the time I had made up in the process. Like most sprayers, clean-up is annoying but even that I'm feeling more comfortable with. I'm excited for the project possibilities!


 Once the face frames were attached we moved on to the doors. We ripped down the wood using the Kreg rip cut to the height of the drawer. We ran them the through the router to create a 1/2 inch dado for the bottom of the drawer to sit in.


 After the kids went to bed for the night we were back in the garage building the six drawers (three for each side unit). We used 1/2 inch plywood for the sides as well as the bottom. We attached them together using glue and nails. Had these been high use drawers I would've opted for a more solid drawer such as a dovetail. But these are light usage and our assembly method will work just fine.

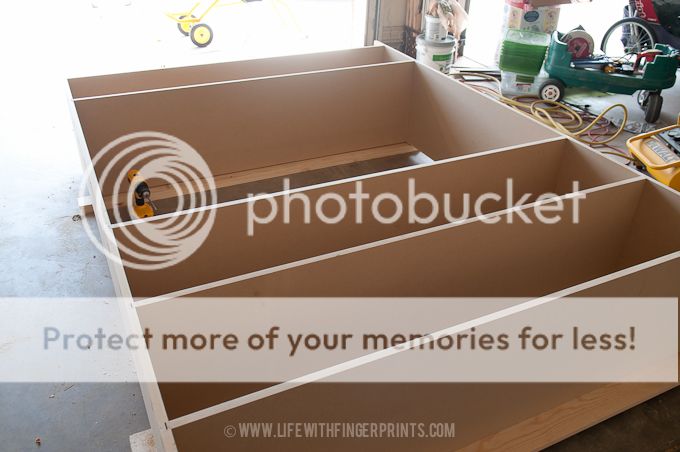
 We built the face frames for the two side units. This was the step I was most dreading. In my mind, I had no idea how we were going to line up everything perfectly. You build the face frame completely and then attach it to the unit with glue and pocket screws and it's got to fit like a glove. But with every step of this project, measuring perfectly (often measuring multiple times just to make sure) led to amazing results.

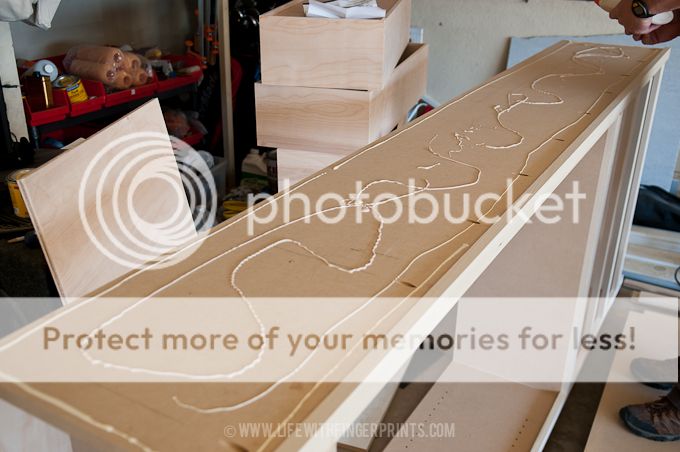
 Every joint had glue and screws. I would've been okay with just screws, but my dad loves glue. He looooves glue and I hate it. I hate the feel of it on my fingers, caked on my nails, cleaning the ooze that comes out of the joints when clamped and then scraping off the excess when it dries. I hate it. But I know it's a better way to go. There were multiple times today that I was ready to attach something together and my dad would suggest we use glue and I just rolled my eyes as I walked across the garage and grabbed the bottle of glue. Sometimes I'm a great student and other times I let my eyes roll!